Having spent a little time away from blogging, I recently discovered that properly setting up custom domains with Blogger has changed a little. I realised that some of my sites were no longer reachable at their "naked" domain (as in bloggerbuster.com, without the www), and that setting up a new custom domain now requires verification.
Unfortunately the current instructions on Blogger Help don't quite cover all of the steps required to set up a custom domain, so for those of you who may need help I'll clarify the full process here.
About this tutorial
This tutorial is for those who want to set up a WWW custom domain rather than a subdomain for their Blogger hosted blog. If you need to set up a subdomain (for example, myblog.mycoolsite.com) the process is different and you should follow the instructions set out on this page.
If you have already set up a custom domain but find the naked URL (mycoolsite.com) does not redirect to your website, use this tutorial to check your settings and ensure you have set everything up correctly.
Purchase a Custom Domain
The first step (if you haven't already done so) is to purchase your custom domain. There are dozens of domain registrars to choose from including 1 and 1, Yahoo Small Business and Easy DNS. You can also try searching Google for domain registrars, particularly if you would prefer a country specific domain.
My preferred registrar is GoDaddy due to the consistently low prices and frequent special offers (check out this site for the most current GoDaddy discount code).
You only need to purchase a domain name. Hosting, email and other website features are not required when setting up a custom domain with Blogger. Your site is already hosted for free and you can set up domain-based email without charge.
Already purchased your custom domain? Then it's time for the next step.
Change the DNS Settings for your Domain
Once you've purchased your custom domain, you'll need to change a few DNS settings in order to point your domain name to your Blogger-hosted site.
For the purpose of this tutorial I'll illustrate how to do this with GoDaddy, but the process is very similar no matter which domain provider you use.
First, go to the Settings>Basic page of your blog's dashboard and scroll down to the "Publishing" section.
Click the "Add a custom domain" link to open up the domain menu:
You'll need to type in your domain URL here, being sure to include the www prefix. Then press "Save".
This will bring up an error message indicating that your custom domain has not yet been properly set up. Beneath you will find two CNAMEs you need to add to the DNS settings page provided by your domain registrar.
Open up a new tab in your browser and log into your domain registrar account, then navigate to the DNS settings page in order to edit the CNAME settings.
If you're using GoDaddy, click Your Account>Domains and click the Launch button to the right of your domain name. On the following page, select DNS File Zone and click the Edit button.
If an entry for WWW already exists in the CNAME section, edit this to point to ghs.google.com. If not, add a new CNAME entry named www which points to ghs.google.com.
You'll also need to add a second new CNAME entry as detailed in the message on your Blogger>Settings page. The "Name" will be a set of letters an numbers while the "Points To" will be an alphanumeric string followed by ".googlehosted.com". Enter these in the same way you did the WWW entry, and be sure to save your changes.
Next we're going to edit the "A" records which will redirect visitors to your naked domain (e.g. mycoolwebsite.com) to your www address (www.mycoolwebsite.com).
Still on the DNS settings page for your domain registrar, scroll or navigate to the "A" (or "Host") settings section. Delete any existing entries, then add the following entries using "@" or your naked domain name (mycoolwebsite.com) for the "Name":
216.239.32.21
216.239.34.21
216.239.36.21
216.239.38.21
If you're using GoDaddy, the A records section will look like this:
Finally, navigate back to your Blogger settings page and click the "Save" button again. Blogger will quickly check the DNS settings for your site and if successful, your new custom domain will be saved and your old *.blogspor.com url will redirect to your newly set-up custom domain.
Note: If you continue to receive an error message, you may need to wait up to 24 hours for the DNS settings to take effect. Try again tomorrow and if you're still unsuccessful, check your DNS settings are correct.
Redirect your "naked" domain
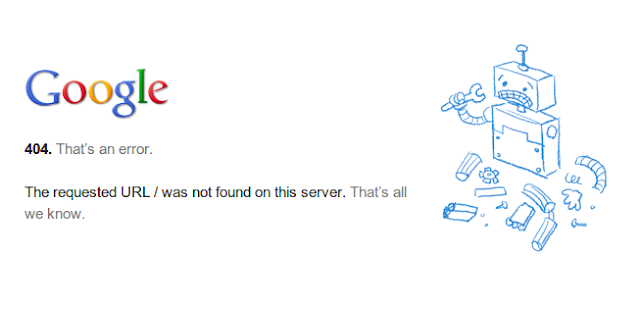
Although we've added "A" records to redirect our naked domain to our www domain, this is not yet completely set up. At this stage if you were to visit your domain without adding the www prefix, you'll encounter an error message like this:
Notice that this is a Google hosted page, rather than one provided by your domain registrar? This is because your naked domain points to Google-hosted servers, but is not yet being properly directed to your www address.
The fix for this is simple. Go to the Settings>Basic section of your dashboard, scroll down to the Publishing section and click the "Edit" link next to your custom domain name. This will open up the Advanced Settings for your custom domain.
Tick the checkbox to direct your naked domain to your www domain, click save, and you're all done! Now visitors who forget to add the www prefix will automatically be redirected to your site.
Questions? Comments?
I hope this tutorial is useful for those setting up a new custom domain. If you have any questions or comments about this tutorial, please feel free to use the comments section below.


Komentar
Posting Komentar